Suffering From Wrist Pain While Poling? Here's How To Manage It
Suffering From Wrist Pain While Poling?
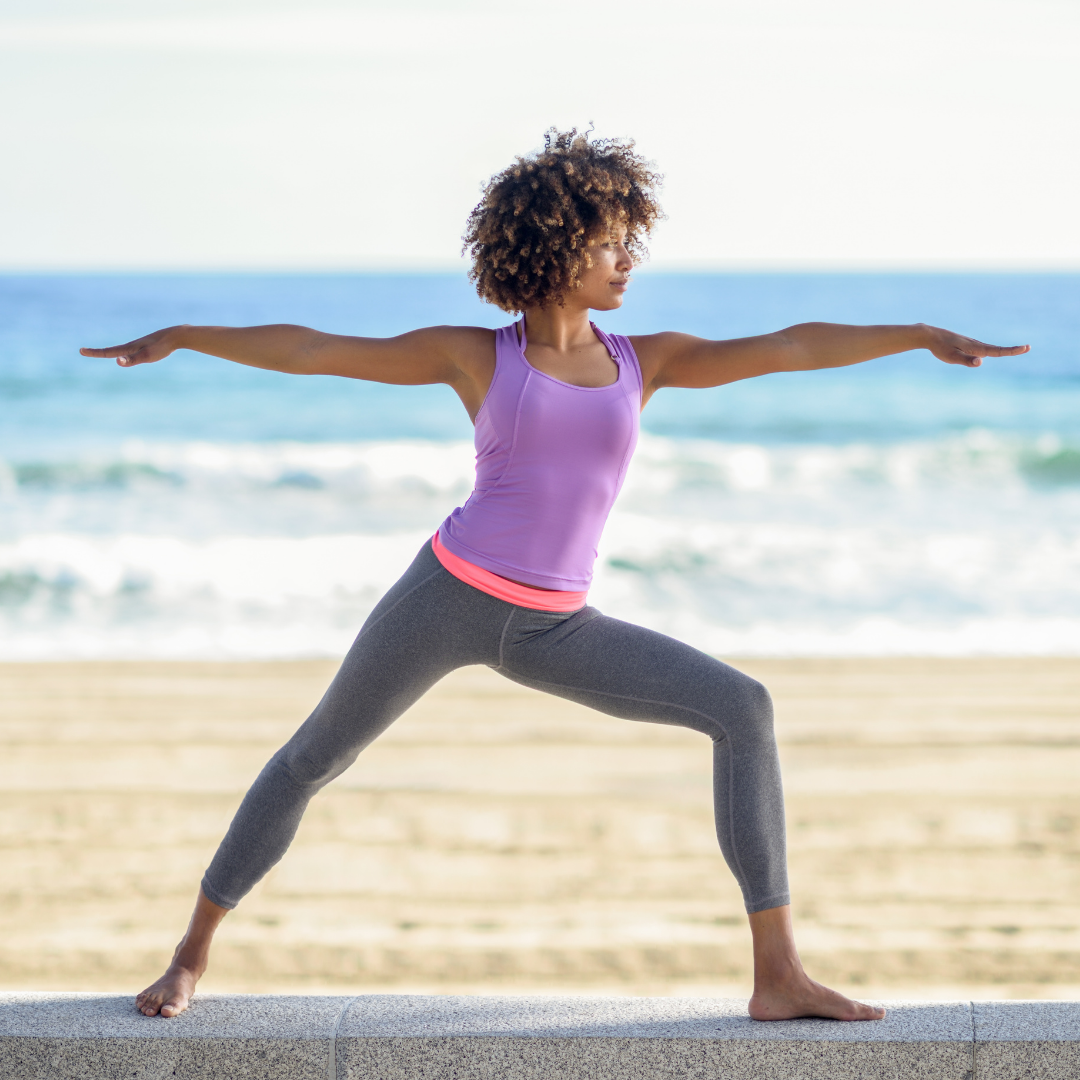
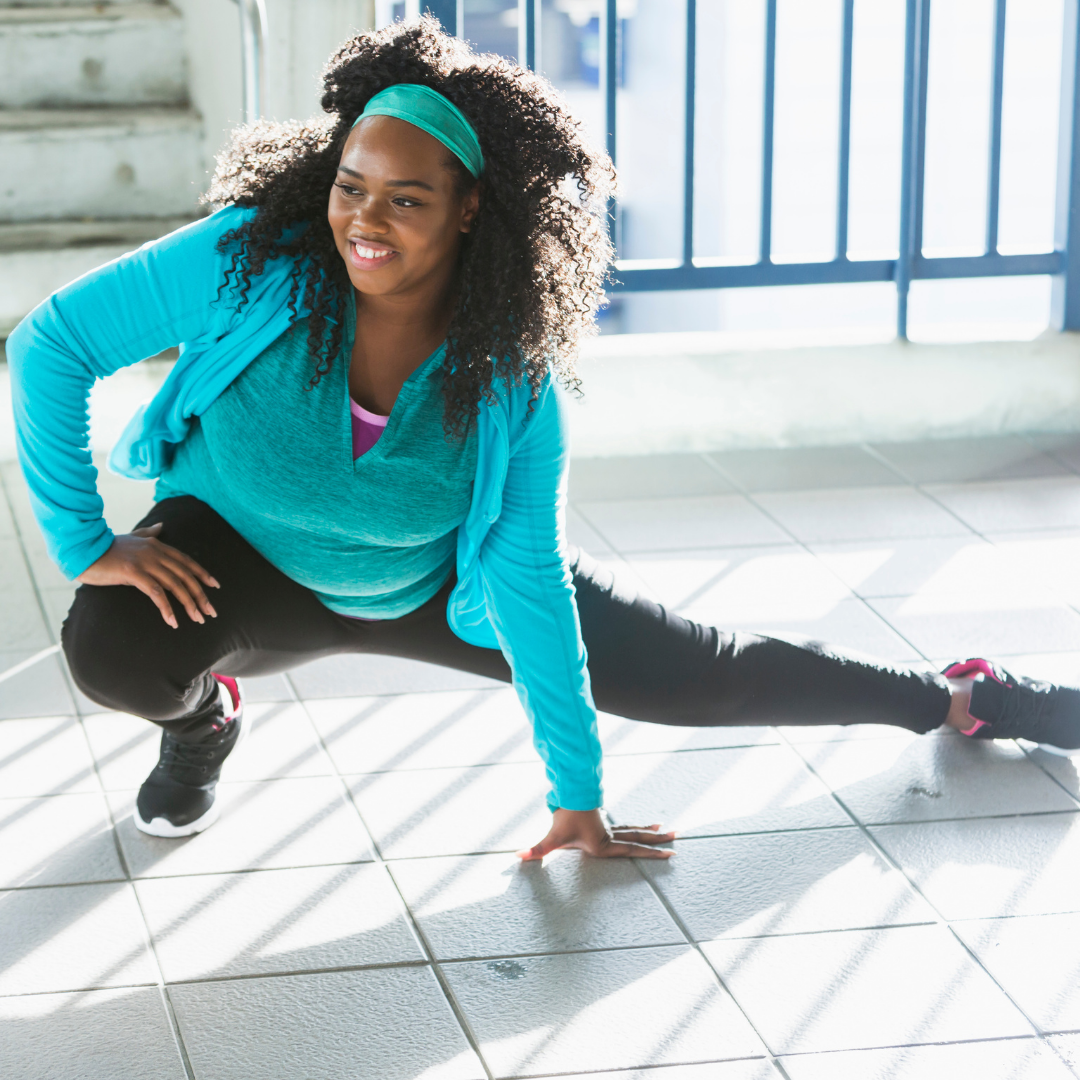
As we all know, pole dancing is tough! Along with gaining strength and flexibility, comes injuries and fatigue. Our wrist and shoulders tend to wear and tear while training but there are ways to prevent it!
But First… A little anatomy:

The wrist is a synovial joint made up of 8 little carpal bones. A synovial joint joins bones or cartilage with a fibrous joint capsule that is continuous with the periosteum of the joined bones. Your forearm has two long bones, the radius and ulna, and above your elbow joint is the humerus bone which connects to your shoulder girdle. The wrist has four actions. Flexion, Extension, Adduction and Abduction.
If you stand or sit with your arms by your side and bend your elbows at 90 degrees with palms facing up. Bending the wrist and bringing your fingers up to the ceiling is flexion, bending at the wrist and bringing your fingers to the floor is extension.
Bending at the wrist with your thumbs going away is abduction. Lastly, adduction of the wrist palms up elbows bent bending at the wrist pinky’s towards each other. Our wrist joints have a wide range of motion and before pole dancing it is imperative to warm them up!
Joints love circles:
Before even getting on the pole, taking time to do wrist exercise can prevent injuries and build strength. Doing wrist curls with a small 1 pound weight or even a bottle of water will help your wrist get warmed up. Joints love circles because they are able to hit all planes and get their fullest range of motion. Stabilizing exercises like planks will ensure your wrists are getting stronger. (Be sure to stack your shoulders over your elbows and wrist and press your shoulders towards the ground like you are trying to push the floor away while pulling your shoulder blades away from each other.)
Using Powerball Wrist Strengthener is great to stop inflammation and tendonitis in the wrist and a great tool to throw in your pole bag before taking class!

Join the official community for Black Girls Pole
✴
Gain access to webinars, blogs, retreats, discounts, and so much more
✴
Click here to learn more
✴
Join the official community for Black Girls Pole ✴ Gain access to webinars, blogs, retreats, discounts, and so much more ✴ Click here to learn more ✴
Check your posture:
A lot of us spend 8-10 hours a day sitting at a desk looking at a computer screen. Check in with your posture and make sure you are hitting the 90, 90, 90 rule with your feet planted firmly on the ground.
Knee joint at 90 degrees
Hip Joint at 90 degrees
Elbows at 90 degrees… which is most important for the wrist because it is allowing your wrist to be as straight and aligned with your elbows as possible. If your elbows aren’t at 90 degrees adjust your chair height to get as close to 90 degrees as you can.
There is a lot of strain on the wrist if your wrists are above your elbows. Investing in a laptop stand like this will help ease any strain not only on the wrist but the neck and shoulders too!
Pole Form:
We know how important pushing and pulling is in this sport. The joints closest to your trunk are the strongest. For example, your shoulder joint is stronger than your wrist joint and your hip joint is stronger than your ankle joint.
Utilizing the strength of your shoulder in certain moves will save your wrist and elbows. Visualize a forearm climb. If you are doing a forearm climb with one arm straight overhead doing the pulling and the other arm bent with the forearm pressed against the pole pushing, before even starting the climb, check in to see where the shoulder placement is on the bent pushing arm. Is the shoulder of the bent arm up near your ear? If so, you are going to put strain on your wrist because you will ultimately be pushing from the wrist and not pushing from the shoulder and forearm. Reset.
Now, try again and this time the elbow of the bent arm should be below your nipple. Actually the tip of your elbow should almost be in line with your belly button. That way you are able to create enough space to push away from the pole with your SHOULDER and forearm and not your wrist. When you activate your shoulders, it's a game changer because you are working with larger muscles like your lats, obliques and traps instead of that little wrist!

Wrist pain every time you do a handspring?
Check in to see if your shoulder, elbow and wrist are aligned properly. Are you equally pushing from the bottom shoulder while pulling from the top shoulder or is your bottom arm bending at the elbow putting a strain on your wrist? Are you using a trigger finger for your bottom pushing arm so the wrist is aligned and not bent and twisted around the pole? Meaning your index finger should look like a trigger finger, gun finger, whatever you want to call it!. By having a trigger finger, you keep the wrist straight and in line with the elbow and will avoid injuring your wrist.
Changing small things can make a big difference in the health of your wrist. As always we want to work smarter, not harder and walking around with wrist pain can lead to frustration and weeks off from training! Try these out and leave a comment if you have any wrist exercises you love!
Written by:

Dalijah Franklin
Dalijah Franklin is a Mother, Dancer, Lifestyle Blogger, Entrepreneur, and Obsessive Life Giver. She is also the founder of Black Girls Pole, an organization to striving to diversify the pole world by inspiring, empowering, and educating women of color about pole dancing. Check out Black Girls Pole’s website and Instagram here. Stay up to date with Dalijah here.